
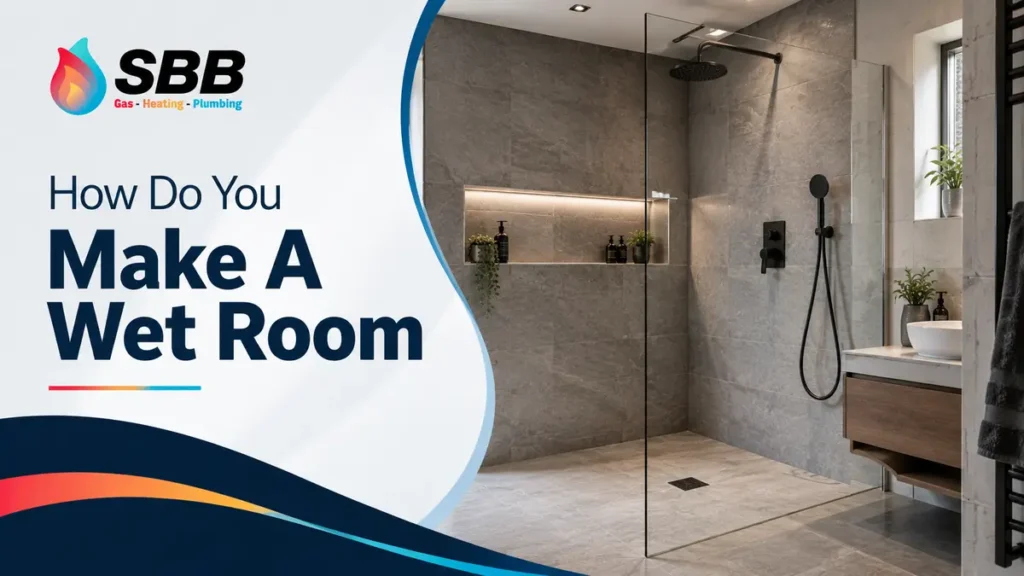
Thinking about ripping out that old shower enclosure and going to a full wet room? Good call. A wet room can turn an ordinary bathroom into a sleek, easy-to-clean, and highly accessible space. This is designed so the shower area is open, with water draining directly through a floor drain.
Now comes the interesting part. How do you make a wet room? You need a floor with the correct gradient, waterproof walls and floor, and a well-planned drainage system.
You can start from scratch for a new wet room or renovate an existing bath to a wet room. It makes maintenance easy and offers the real comfort you could ever ask for.
In this guide, we’ll walk you through the wet room-making process, top checklist, and the do’s and don’ts. Let’s begin.
How Do You Make A Wet Room? A Step-By-Step Guide
Making a wet room is beyond laying tiles; it’s a specific order of operations that determines its longevity. You want it for twelve days, twelve months, or twelve years; that’s entirely on you. When you focus on quality, every single detail of installation matters.
Here’s the step-by-step wet room making procedure:
Step 1: Plan the Layout and Drainage Network First
Decide where the shower tray, drainage, and other fixtures will go. It’s better if you keep the existing drainage route. Moving the route adds complexity to the project and costs more. You can choose a full wet zone or keep a dry zone as well.
A wet room is an open space; the water may splash everywhere. To keep the rest of the room dry other than the splash zone, you can install a fixed shower screen.
Note: Check the floor construction, available ceiling height, drainage position, ventilation, etc before starting work.
Step 2: Prepare The Floor
The floor must be suitable for a wet room installation. It should not simply be left flat. The shower area needs a carefully formed fall towards the drain so water naturally flows away instead of pooling.
In a solid-floor bathroom, the preparation may involve preparing the concrete or screed so you can install drainage and floor gradient smoothly. Check the joist strength before installation, as the wet room may add weight.
To accommodate the wet room, including the drainage and waterproofing system, floor preparation is a must.
Step 3: Install The Drainage System
Install a shower drain or a linear drain at the appropriate position, with the waste pipe connected to the existing drainage system. It should be properly supported and sealed.
Ensure the water doesn’t escape beneath the floor. You can also install a central drain shaped with multiple falls. The drain must have adequate flow capacity for the shower.
Also, your waste pipe should have an appropriate fall. Poor drainage design can lead to unpleasant smells, slow-flowing water, or persistent puddles.
Step 4: Create the Floor Gradient Correctly
A floor gradient directs water towards the drain and prevents water pooling. For many wet-room systems, the shower area is formed with a gradual fall. The exact gradient depends on the manufacturer’s system and installation requirements.
Read the manufacturer’s specifications and keep that as the top priority. Keep the transition area between the slope and the rest of the bathroom smooth and accessible.
Step 5: Waterproof the Floor and Walls
The walls and floors are not waterproof themselves. Water can penetrate through grout joints, corners, movement points, and small gaps if the underlying structure is not waterproof.
A wet-room tanking system creates a waterproof layer beneath the tiles. Depending on the system, this may involve a waterproof membrane, tanking boards, sealing tape, waterproof corners, and compatible sealants.
When tanking, focus on floor-to-wall junctions, internal and external corners, around the shower drain, pipe penetrations, wall-to-floor joins, etc. Use a complete, strong waterproofing product. Don’t mix random waterproofing items from several brands together.
Step 6: Install the Shower Fixtures
After waterproofing, install other shower fixtures and bathroom fixtures. You can have an electrician install or make changes to electrical installations by an electrician. Choose professional installers like SBB Plumbing who offer multiple trades like bathroom installers, tilers, electricians, etc.
Step 7: Tile the Wet Room
Choose slip-resistant tiles for the wet room. They need to be installed over the correctly prepared waterproofing system using a compatible adhesive. You want large or small tiling; that’s absolutely your personal preference.
Small tiles fit well on sloped floors. On the flip side, large tiles make the space look wider and are easy to maintain. But the large tiles may need careful cutting around slopes and drains.
Step 8: Grout and Seal The Joints
After the tiles are installed, grout the joints using products suitable for a wet room. Use flexible sealants where movement is expected. Rigid grout won’t work at these movement junctions.
Do your research and choose the correct product. The perimeter and movement joints need to be taken extra care of. A single crack in these areas can allow moisture to reach the substrate.
Step 9: Test The Wet Room
Once the installations are done, it’s time to test the wet room. Check the drainage, shower flow, drain connections, waterproofing details, and floor falls.
Run the shower and observe how quickly water moves towards the drain. Check for pooling and make sure water remains within the intended shower area. After testing thoroughly, you can consider the project successfully finished.
Top Checklists Before Building A Wet Room
Before you start building a wet room, plan every detail carefully. Even a minor mistake can end up causing leaks, poor drainage, or costly repairs. Check the floor, drainage, waterproofing, ventilation, and materials first.
Here’s the checklist you should follow:
Assess Your Floor Structure
Every floor structure comes with some benefits and some drawbacks. Concrete floors are solid, stable, and simpler to form a fall into. Timber floors, on the other hand, need extra work. You’re often looking at additional joist support, or a plywood subfloor.
If you’re not sure what you’re working with, get a builder or surveyor to check before you commit to a design. Also look for any repairs and upgrades before work begins.
Confirm Your Drainage Set Up
Check where your existing waste pipes run. Also assess if there’s enough of a slope to let water flow away naturally. A bathroom on an upper floor or pipework that isn’t positioned well may need a pump-assisted drainage system.
Check Ceiling Height And Floor Buildup
Tanking, screed, insulation, and tiling all add height to your existing floor. In older homes with lower ceilings or a step up into the bathroom already, this buildup can become a real problem. Measure your available floor buildup early so you’re not caught out mid-project.
Plan Your Ventilation Properly
A wet room floods the whole space with steam and standing moisture every time it’s used. Standard bathroom extractor fans are sometimes underpowered for this.
Look at the room’s cubic volume and check if the fan’s extraction rate is actually sufficient. Make sure it’s wired to run for a few minutes after the light switches off to properly clear the air.
Check Bathroom Size Vs Splash Zones Ratio
Wet rooms work best in bathrooms with enough space for water to fall and drain. Measure out where the wet zone will realistically end up, and picture what’s nearby.
A toilet roll holder, a wooden vanity unit, or an electrical socket sitting right in the splash path may cause problems.
Decide on Screening and Layout
Fully open-plan wet rooms look incredible in photos. In daily use, they can send water across the entire bathroom floor. A half-height glass screen or a walk-in partition is a popular solution.
Choose where to position the screen/partition, as it decides where your drain and fall need to go.
Check Building Regulations And Electrical Safety
Wet rooms often fall under specific building regulations. Lighting, sockets, extractor fans, and any underfloor heating controls typically need to meet zone-rated safety requirements.
Check your local codes, or ask your bathroom installer to confirm compliance before work starts.
Choose The Materials In Advance
Key materials for a wet room, like tiles, resin flooring, tanking membrane, drain covers, glass screens, etc must be chosen before the build starts. Some materials may take time to deliver. So you must decide and order them earlier.
Set a Realistic Budget
Wet rooms typically cost more than a standard shower conversion or installation. Get quotes from top installers, compare the budget and services, and estimate the cost. Always keep a 10-15% contingency amount for unexpected issues.
Hire the Right Professionals
Nowadays, every installer keeps claiming them as experts. But not all installers have hands-on experience in making wet rooms. Look for installers who are certified and experts at wet room installation.
Ask to see photos or references from previous wet room projects. Also verify their reviews and ratings.
Building A Wet Room: Do’s And Don’ts
A wet room lasts longer with the right installation and procedure. Here are the do’s and don’ts you should consider when installing a wet room:
The Do’s:
- Hire a qualified, CIPHE- or equivalent certified installer for tanking and drainage.
- Invest in quality tanking materials. This is the one part of the job you really don’t want to cut corners on.
- Choose textured, slip-resistant tiles or flooring for safety.
- Install underfloor heating if your budget allows. It helps the floor dry faster and keeps things cosy.
- Leave adequate time for tanking membranes and adhesives to cure fully before tiling.
The Don’ts:
- Don’t skip the ventilation. Poor airflow leads to mold and damp issues fast.
- Don’t rush the floor sloping. Even a slight miscalculation can lead to standing water.
- Avoid using standard drywall or MDF anywhere near the wet zone. Only waterproof boards belong in a wet room.
- Rooms with limited drainage access or awkward floor structures demand significant extra work. Don’t choose a bathroom randomly.
- Don’t forget to check with downstairs neighbors or building control if you’re in an apartment or older building with uncertain floor construction.
In Conclusion
So, how do you make a wet room? It is all up to you. The materials, floor fall, drainage, ventilation, positioning, and tiling. Every part matters to make a perfect wet room.
Focus on waterproofing meticulously. Hire a professional you can trust. Experts install in compliance with the regulations.
A wet room lessens the maintenance stress and keeps your bathroom accessible. Don’t attempt DIY if you lack proper understanding of flooring and complex issues. The right professional ensures everything is on point and you get a wet room you’ve always dreamt of.
Frequently Asked Questions About How To Create A Wet Room
1. How Easy Is It To Make A Wet Room?
Making a wet room is a moderate to highly difficult job. It’s not recommended to attempt a DIY project. It may cause costly water damage. Every step must be supervised and handled by certified professionals.
2. How Much Would It Cost To Build A Wet Room?
The average cost to build or convert a wet room is approximately £4000 to £10000. It can vary based on room size, material choices, and job complexity.
3. What Do You Put On The Floor Of A Wet Room?
Porcelain and specially designed non-slip safety vinyl tiles are popular choices. Smaller, mosaic tiles may work better on sloped tiles for better grip.
4. What Is The Best Surface For A Wet Room?
Porcelain and non-slip safety vinyl tiles are the best surface options for a wet room in UK properties.
5. How Long Does It Take To Build A Wet Room?
Professional installers typically take 4 to 7 working days to complete a wet room. Complex projects may take 1-2 days extra.
6. Can I Make A Wet Room Myself?
Not actually. You can handle some basic preparations. Complex jobs like drainage, waterproofing, plumbing, and electrical work are often best left to experienced professionals.
7. Does A Wet Room Increase The Value Of A Property?
Yes, a well-designed, professionally installed wet room can increase a property’s value by 2%-5%.